GIMP Quickies
The following quotes the article linked below (by Pat David): https://www.gimp.org/tutorials/GIMP_Quickies/
3. How to Crop An Image
There are numerous reasons you may want to crop an image. You may want to remove useless borders or information for aesthetic reasons, or you may want the focus of the final image to be of some particular detail for instance.
In a nutshell, cropping is just an operation to trim the image down to a smaller region than what you started with:
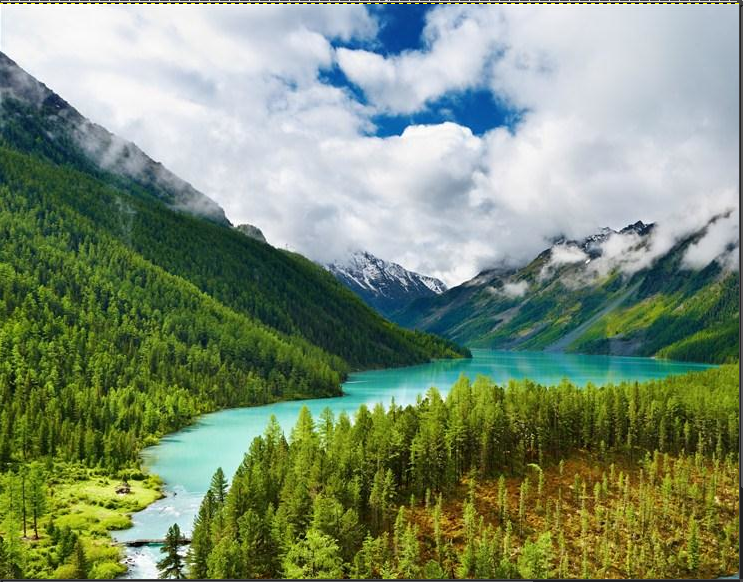

Original image (left), cropped image (right).
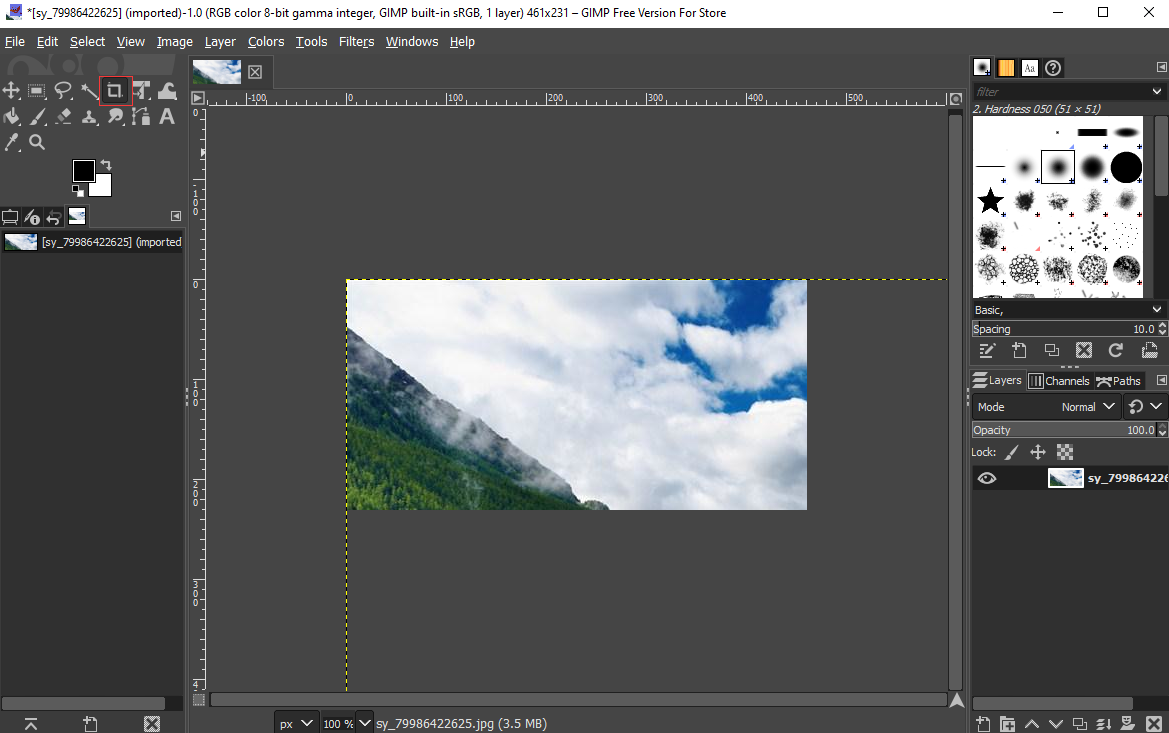
The procedure to crop an image is straightforward. You can either get to the Crop Tool through the tools palette:
Or you can access the crop tool through the menus:
Once the tool is activated, you’ll notice that your mouse cursor on the canvas will change to indicate the Crop Tool is being used.
Now you can Left-Click anywhere on your image canvas, and drag the mouse to a new location to highlight an initial selection to crop. You don’t have to worry about being exact at this point, as you will be able to modify the final selection before actually cropping.
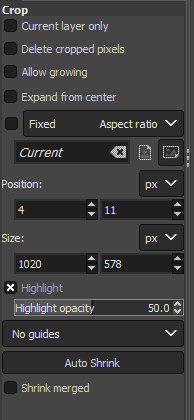
Initial pass with the Crop Tool. Crop Tool options (left), cropping on the canvas (right).
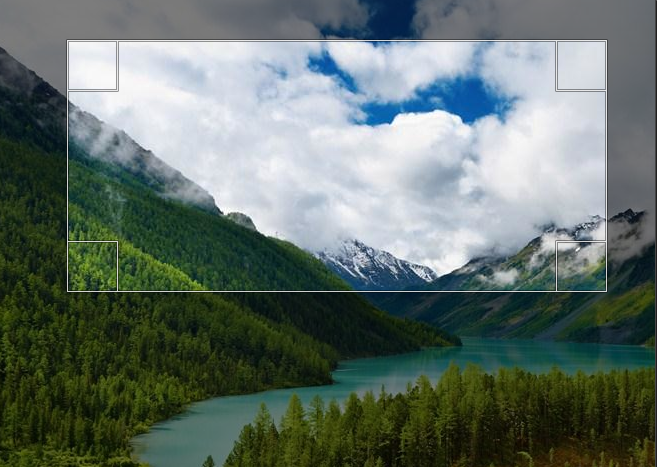
After making the initial selection of a region to crop, you'll find the selection still active. At this point hovering your mouse cursor over any of the four corners or sides of the selection will change the mouse cursor, and highlight that region.
This allows you to now fine-tune the selection for cropping. You can click and drag any side or corner to move that portion of the selection.
Once you are happy with the region to crop, you can just press the "Enter" key on your keyboard to commit the crop. If at any time you'd like to start over or decide not to crop at all, you can press the "Esc" key on your keyboard to back out of the operation.